


Lifestyle
How To Roll A Joint In 5 Easy Steps
Joints are possibly the most common vehicle in which people smoke weed. Joints have been a staple of stoner culture for what seems like forever, which is why we think knowing how to roll a joint is an excellent life skill to have.
And that’s why we’re here! There are a couple of different ways to roll a joint, but we’re going to walk you through it step by step and teach you what we think is the easiest way to roll a joint.
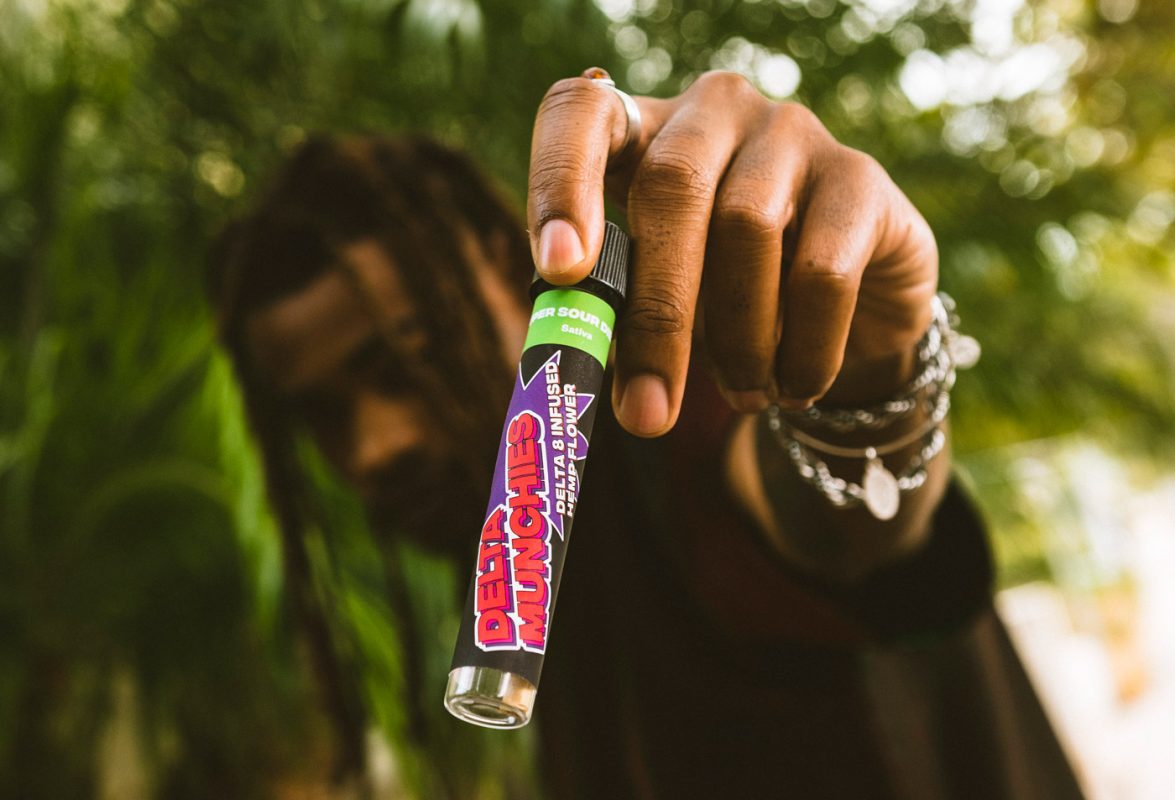
Roll on thru our shop to check out our Delta 8 THC pre rolls.
What is a Joint?
A joint (oftentimes called a spliff) is made up of ground-up cannabis rolled up in joint paper. Joint papers are usually thin and light in color. From far away, they can sometimes have a similar appearance to cigarettes. Since they’re small and easily transportable, they make for a super convenient and ergonomic way to smoke weed. While traditional joints are rolled by hand, you can also find prerolled joints at your local dispensary.
But alas, that’s not why we’re here! We’re here to teach you the best way to roll a joint. So, let’s start with what you’ll need to do that.
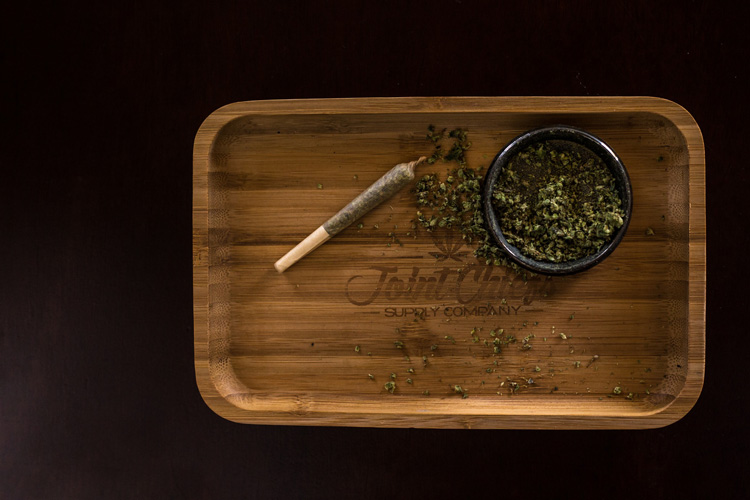 Photo Courtesy Of Unsplash.com
What You’ll Need to Roll a Joint
You’ll need some basic things when learning how to make a joint. They include:
Contents
1. Your Weed of Choice
When you’re learning how to properly roll a joint, the first thing you’ll need is your weed of choice. Joints are generally a bit on the smaller side, so they won’t be able to hold quite as much as a blunt. You can (on average) comfortably fit around a gram inside a joint, maybe a gram and a half if you’re using extra-large papers.
Pick a strain that matches your mood and get it ready to go in the grinder. We recommend a Sativa for an uplifting, energetic high or an Indica for a mellow, relaxing high. You can also roll other cannabinoid flowers into joints besides THC––CBD and delta-8 also make for great joints!
(Pro tip: You can also use more than one joint paper to house more weed, but we like to think of this as an expert-level skill. And we’re just starting with the basics for now!)
2. A Grinder
While you can break up the weed with your fingers, it’s almost impossible to get it as fine as you’d ideally want it to be when rolling a joint.
Joint papers are generally super thin, so it’s important that the weed inside of them burns as evenly as possible. When you have unevenly ground weed, you may end up with tip canoeing (not burning correctly) or not functionally smoking at all. It’s a real easy way to waste a bunch of weed!
3. Joint Papers
Obviously, when rolling a joint, you’re going to need joint papers.
There are a lot of different brands out there, so feel free to experiment with different kinds until you find what you like. There are organic options, unbleached options, extra-large, extra-small, and everything in between. (Although the most popular brand of joint papers by far is by RAW.)
While there is a vast selection of joint papers, we recommend beginning with the most basic ones to start with while you’re just learning. You can find them online or, depending on where you live, at your local smoke shops, dispensaries, gas stations, or bodegas.
4. A Rolling Tray
Knowing how to roll a joint freehand is hard, so we recommend using a rolling tray while you’re still learning. If you don’t have a rolling tray, you can use any flat surface you have around you. This can be a kitchen counter, a table, a book, the back of your phone, or if you’re Rihanna, the top of your bodyguard’s head. Hey, you gotta do what you gotta do!
5. (Optional) A Mouthpiece or Tip
These are optional, but some people think adding a mouthpiece or tip is the best way to roll a joint. You’ll notice that prerolled cones come with a small paper mouthpiece or tip, so you’d basically be mimicking that. You can buy prerolled tips at almost any smoke shop if this is something you like.
(PSA: Some people call them filters, which is fine, but it’s important to note that they are not technically filters. They don’t actually filter anything. You can call them whatever you want, but we just want to make sure you know the difference!)
How to Roll a Joint
Now, we’ll walk you through how to roll a joint step by step.
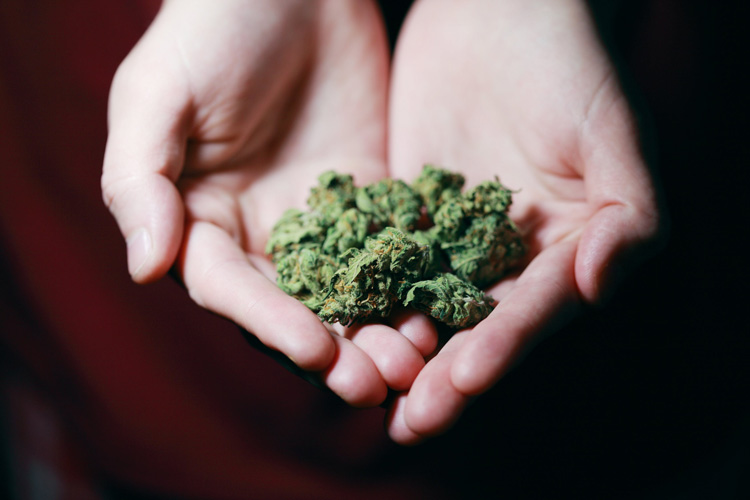 Photo Courtesy Of Unsplash.com
Step 1: Get Your Weed Ready.
The first step is to get your weed ready. Once you have the strain you want, pop it in a grinder and make sure it’s nicely ground. It’s important that the weed be as finely ground as possible to ensure an even burn through the joint. As we said before, joint papers are thin, so big nugs of weed in the middle of your joint will upset the smoking experience and cause it to burn irregularly.
If you’ve got a rolling tray, dump the weed from the grinder into the tray. This will make it easier for you to access the weed while you’re putting it in the joint. This will also create a catchall for any weed that falls out while you’re trying to roll the joint. We promise that having a rolling tray makes rolling a joint a lot quicker and easier!
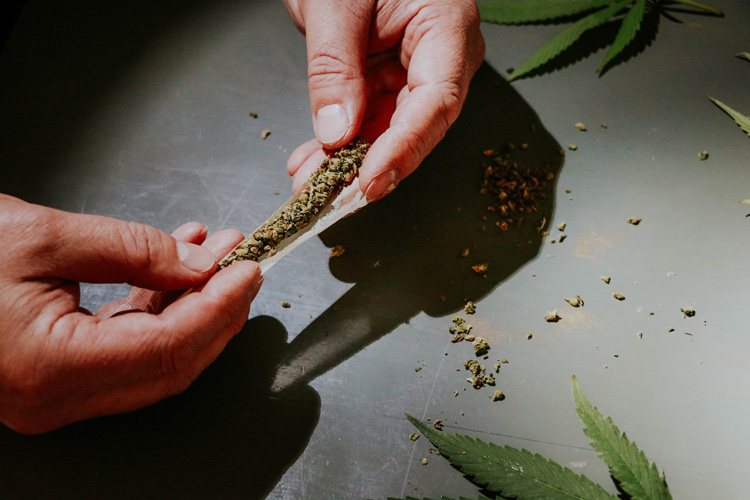 Photo Courtesy Of Unsplash.com
Step 2: Put the Weed in the Joint Paper.
Start sprinkling your weed into the joint paper. You’ll want to start to make a little divet or valley into your joint paper. You don’t want to fold it into a V shape, but instead hold it more like a U.
Making sure your weed is evenly distributed inside the joint paper is also paramount in ensuring an even burning/smoking experience. (It will also affect the quality of your weed roll.) The only significant difference in thickness should be from the end that you’ll be smoking from (which should be thinner) to the end that you’ll be burning (which should be thicker).
Step 3: Begin Rolling Your Joint.
Once you have your weed in place, you can begin to roll the joint paper over the weed and in on itself. As you’re rolling, make sure you’re also tucking. You want to tuck the weed in there as tightly as possible without restricting airflow. And as you go, just keep continuing the movement: tuck and roll, tuck and roll, tuck and roll.
When you’re first learning how to roll a joint with paper, it can be a little challenging to get used to how delicate the papers can be. But don’t worry, this will become a lot easier with practice!
Step 4: Lick It, Lick it Good!
Joint papers usually have a little strip on the edge that becomes an adhesive when dampened. For this, you’re going to use your tongue. Time to lick it, lick it good!
As you’re tucking and rolling, when the adhesive strip rolls into the joint paper, you’ll lick it and stick it. You’ll continue this tuck, roll, lick, and stick process all the way up to the end of the joint.
Once you’re done, you’ll want to twist the extra length of the joint paper into a little tip, so it closes the end of the joint and acts almost like a wick to help light it.
(Pro tip: if for some reason you cannot or do not want to use saliva to close your joint, you can use a small amount of water. Just make sure you’re only wetting the adhesive strip and not dampening the weed inside!)
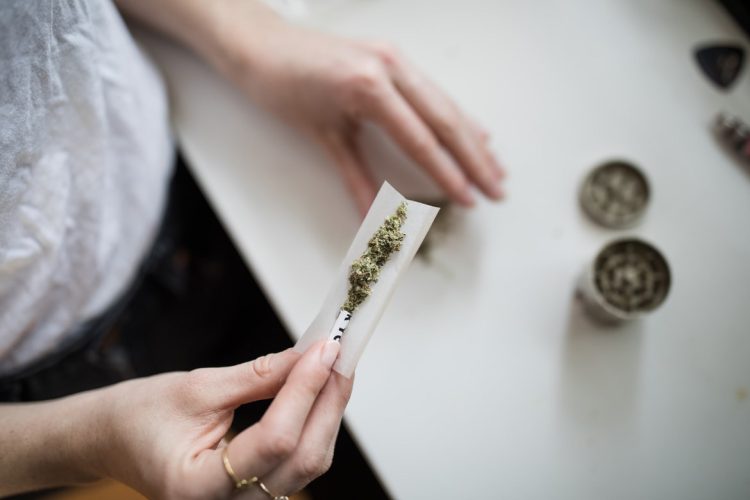 Photo Courtesy Of Unsplash.com
Step 5: (Optional) Add a Mouthpiece.
If you want to add a mouthpiece to your joint like the ones they have in prerolls, you can do that too! Most people do this in the beginning, so you’ll want to set this in your joint paper with the weed before you start rolling. Other people (as Seth Rogen has flawlessly demonstrated) like to pop it in right at the very end. Whichever way works for you is fine!
Optional: Use a Preassembled Cone
There is also a really convenient way to get a perfectly rolled joint without actually having to roll a joint: cones.
Technically, this is the easiest way to roll a joint without actually rolling a joint. They’re basically empty prerolls that you can fill up with ground weed and close at the tip. These are great options for anyone who has dexterity issues that may prevent them from being able to roll a joint manually. (On that note, they also make rolling machines, too!)
There are many ways to roll a joint, but we just want you to enjoy yourself whichever way you choose. So, as always, happy smoking!

this blog smack